Sign in to see ingredients
Create a free account to unlock this content
Don't have an account? Sign up free
Per serving
Calculating nutrition...
- 1
Cream the butter and sugar
Preheat your oven to 350°F. In a large bowl, beat 6 tablespoons of softened butter with the sugar until it is light, pale, and fluffy. Don't rush this part! Real creaming can take 5 to 7 minutes, and it is where the magic happens: you are beating tiny air pockets into the butter, and those pockets are what give the cookies their tender, delicate crumb. When the mixture looks noticeably lighter in color, you are there.
- 2
Add the wet ingredients
Beat in the egg, canola oil, and vanilla until smooth. The butter gives these cookies structure and flavor, and the little bit of oil adds moisture so they do not dry out. They each do a different job, so don't skip either one.
- 3
Mix in the dry ingredients
In a separate bowl, whisk together the flour, cornstarch, baking powder, and salt. The cornstarch is the secret here: it keeps the dough tender and gives that melt-in-your-mouth, shortbread-like softness. Gradually beat the flour mixture into the creamed butter just until a dough comes together.
- 4
Shape and make the thumbprints
Roll the dough into 1-inch balls and set them about 2 inches apart on greased baking sheets. Press a deep well into the center of each one with the end of a wooden spoon handle (or your thumb, if you want to feel old-fashioned about it). If the dough feels soft or sticky, pop the tray in the fridge for 10 to 30 minutes first. Cold dough holds its shape and keeps your pretty thumbprints from spreading out flat.
- 5
Bake
Bake for 8 to 10 minutes, just until the edges turn light golden brown. You are not looking for deep color here. These are gentle, buttery cookies, and pulling them the moment the edges set keeps the centers soft.
- 6
Cool and fill
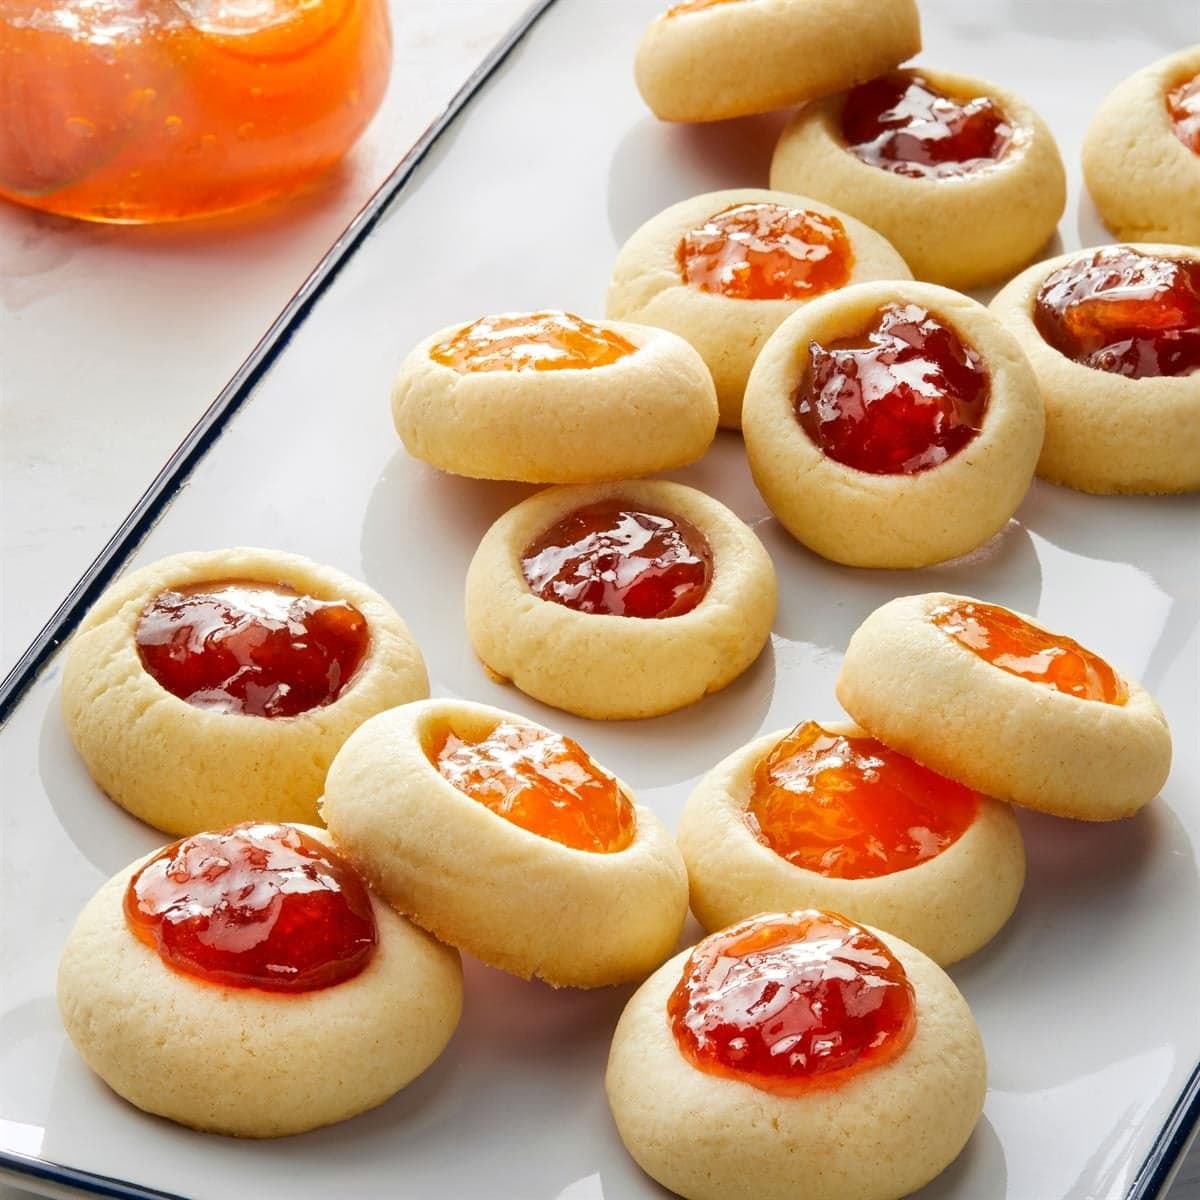
Move the cookies to a wire rack to cool completely, then spoon your favorite fruit preserves into each little well. Raspberry is the classic, but apricot, cherry, or plum are all lovely. Fill them after baking for a glossy, jammy center, or add the preserves before baking if you like the filling a bit more set.
Sign in to see all instructions
Create a free account to unlock this content
Don't have an account? Sign up free
Classic Jam Thumbprint Cookies
Created by: SugarAndButter
Ingredients
- 6 tbsp butter
- 1/2 cup sugar
- 1 egg
- 2 tbsp canola oil
- 1 tsp vanilla extract
- 1 1/2 cup all-purpose flour
- 1/4 cup cornstarch
- 1 tsp baking powder
- 1/4 tsp salt
- 3 tbsp fruit preserves
Instructions
- Cream the butter and sugarPreheat your oven to 350°F. In a large bowl, beat 6 tablespoons of softened butter with the sugar until it is light, pale, and fluffy. Don't rush this part! Real creaming can take 5 to 7 minutes, and it is where the magic happens: you are beating tiny air pockets into the butter, and those pockets are what give the cookies their tender, delicate crumb. When the mixture looks noticeably lighter in color, you are there.
- Add the wet ingredientsBeat in the egg, canola oil, and vanilla until smooth. The butter gives these cookies structure and flavor, and the little bit of oil adds moisture so they do not dry out. They each do a different job, so don't skip either one.
- Mix in the dry ingredientsIn a separate bowl, whisk together the flour, cornstarch, baking powder, and salt. The cornstarch is the secret here: it keeps the dough tender and gives that melt-in-your-mouth, shortbread-like softness. Gradually beat the flour mixture into the creamed butter just until a dough comes together.
- Shape and make the thumbprintsRoll the dough into 1-inch balls and set them about 2 inches apart on greased baking sheets. Press a deep well into the center of each one with the end of a wooden spoon handle (or your thumb, if you want to feel old-fashioned about it). If the dough feels soft or sticky, pop the tray in the fridge for 10 to 30 minutes first. Cold dough holds its shape and keeps your pretty thumbprints from spreading out flat.
- BakeBake for 8 to 10 minutes, just until the edges turn light golden brown. You are not looking for deep color here. These are gentle, buttery cookies, and pulling them the moment the edges set keeps the centers soft.
- Cool and fillMove the cookies to a wire rack to cool completely, then spoon your favorite fruit preserves into each little well. Raspberry is the classic, but apricot, cherry, or plum are all lovely. Fill them after baking for a glossy, jammy center, or add the preserves before baking if you like the filling a bit more set.