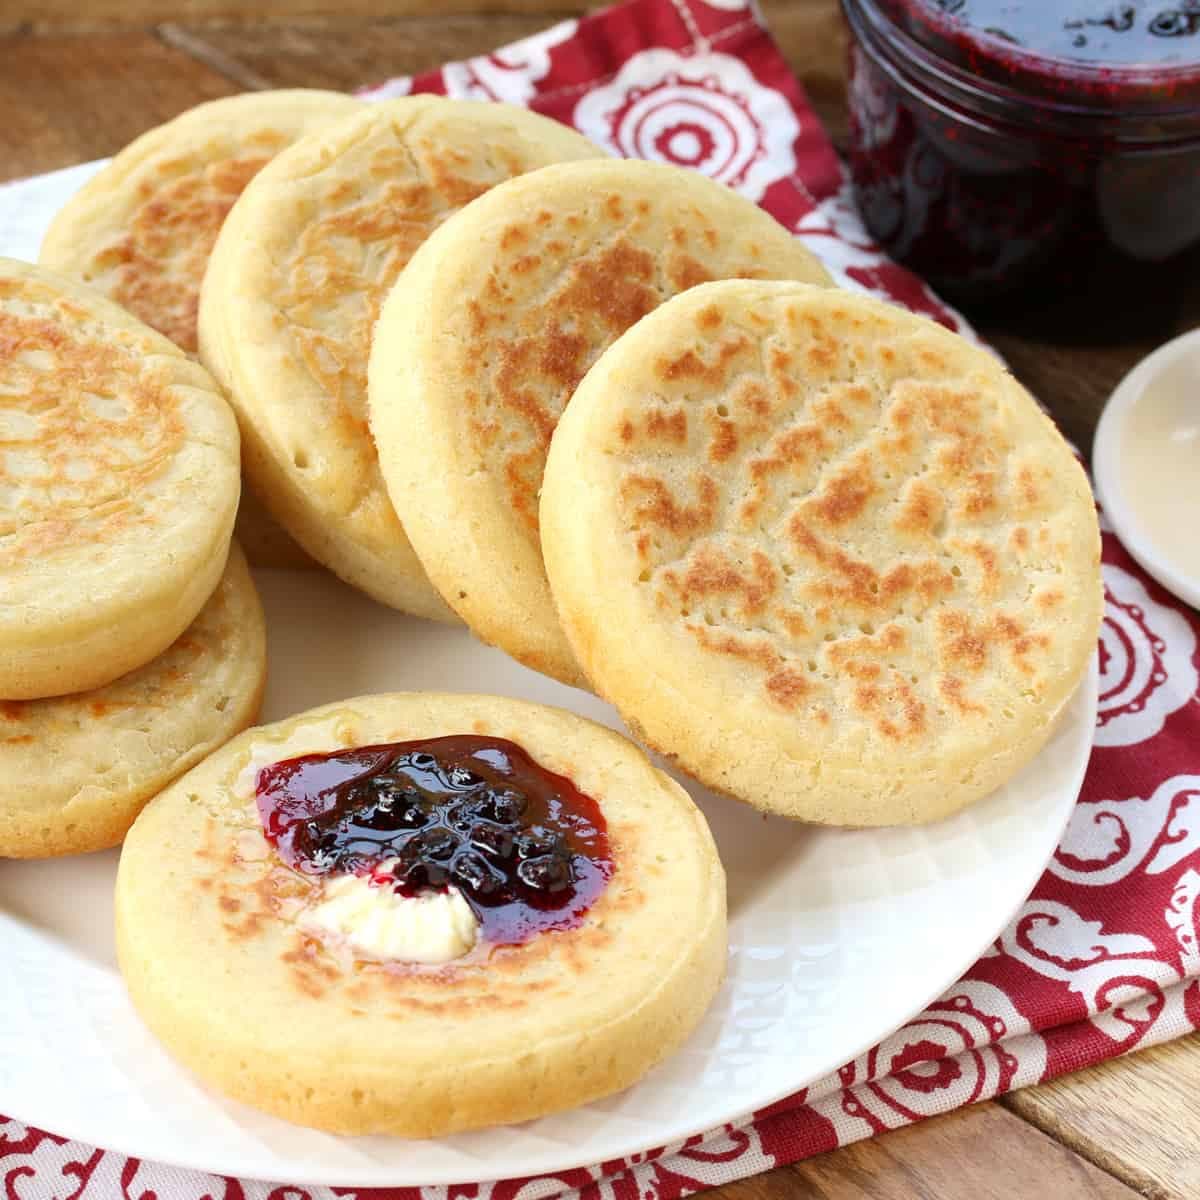
Classic English Crumpets (and the Bubble Science Behind Those Signature Holes)
Sign in to see ingredients
Create a free account to unlock this content
Don't have an account? Sign up free
Per serving
Calculating nutrition...
- 1
Proof the yeast
Stir the sugar and active dry yeast into the warm milk (think bathwater-warm, around 105-110F: hot enough to wake the yeast, not so hot it kills it) and let it sit for about 10 minutes until it is foamy on top. That foam is your proof the yeast is alive and already pumping out CO2. Meanwhile, whisk together the flour and salt in a large bowl. If you are using instant yeast, skip the proofing and just add it straight to the flour.
- 2
Build the batter and let it rise
Pour the milk mixture into the flour and stir or beat until you get a thick, smooth dough-batter, about 3 minutes with a stand mixer paddle. Cover loosely and set somewhere warm for 1 to 2 hours, until it nearly doubles and the surface is dotted with bubbles. This slow rise is where the magic starts: the yeast is inflating the batter with gas, and those trapped bubbles are the blueprint for the holes you will see later.
- 3
Add the baking soda (here come the holes)
Dissolve the baking soda in the warm water and beat it into the risen batter; it will loosen into a pourable, pancake-like consistency. A few small lumps are fine and will smooth out as it rests. Cover and let it sit somewhere warm for at least 30 minutes (longer means a taller rise and more holes) until the surface is lively and bubbly. Here is the why: baking soda gives an instant second burst of CO2, and because the batter is loose, those bubbles travel straight up and burst at the top. That is literally how the signature pores get carved.
- 4
Heat the rings and the pan
Grease the inside rim of each crumpet ring and lightly oil a skillet or cast-iron pan. Set the rings in the pan over medium-high heat and let everything get properly hot. A hot ring sets the outside of the batter quickly so it holds its shape while the inside keeps bubbling away.
- 5
Cook low and slow until the tops set
Pour batter into each ring until a little over half full. Cook roughly 8 to 10 minutes, turning the heat down as needed so the bottoms brown gently instead of scorching. Watch the tops: bubbles will rise, travel up, and pop open into holes, and the surface will shift from wet and glossy to matte and set. That is your visual cue they are done. Optionally lift the rings and flip for a minute to lightly color the top, or leave them pale and toast them later.
- 6
Serve warm
Eat them whole and open-faced (never split them horizontally) slathered with butter so it melts down into all those holes, plus jam, honey, or golden syrup. To save for later, cool and freeze, then toast straight from frozen.
Sign in to see all instructions
Create a free account to unlock this content
Don't have an account? Sign up free
Classic English Crumpets (and the Bubble Science Behind Those Signature Holes)
Created by: TheBreadNerd
Ingredients
- 2 cup all-purpose flour
- 1 tsp salt
- 1 cup milk
- 2 tsp active dry yeast
- 1 tsp sugar
- 1 cup water
- 1/2 tsp baking soda
Instructions
- Proof the yeastStir the sugar and active dry yeast into the warm milk (think bathwater-warm, around 105-110F: hot enough to wake the yeast, not so hot it kills it) and let it sit for about 10 minutes until it is foamy on top. That foam is your proof the yeast is alive and already pumping out CO2. Meanwhile, whisk together the flour and salt in a large bowl. If you are using instant yeast, skip the proofing and just add it straight to the flour.
- Build the batter and let it risePour the milk mixture into the flour and stir or beat until you get a thick, smooth dough-batter, about 3 minutes with a stand mixer paddle. Cover loosely and set somewhere warm for 1 to 2 hours, until it nearly doubles and the surface is dotted with bubbles. This slow rise is where the magic starts: the yeast is inflating the batter with gas, and those trapped bubbles are the blueprint for the holes you will see later.
- Add the baking soda (here come the holes)Dissolve the baking soda in the warm water and beat it into the risen batter; it will loosen into a pourable, pancake-like consistency. A few small lumps are fine and will smooth out as it rests. Cover and let it sit somewhere warm for at least 30 minutes (longer means a taller rise and more holes) until the surface is lively and bubbly. Here is the why: baking soda gives an instant second burst of CO2, and because the batter is loose, those bubbles travel straight up and burst at the top. That is literally how the signature pores get carved.
- Heat the rings and the panGrease the inside rim of each crumpet ring and lightly oil a skillet or cast-iron pan. Set the rings in the pan over medium-high heat and let everything get properly hot. A hot ring sets the outside of the batter quickly so it holds its shape while the inside keeps bubbling away.
- Cook low and slow until the tops setPour batter into each ring until a little over half full. Cook roughly 8 to 10 minutes, turning the heat down as needed so the bottoms brown gently instead of scorching. Watch the tops: bubbles will rise, travel up, and pop open into holes, and the surface will shift from wet and glossy to matte and set. That is your visual cue they are done. Optionally lift the rings and flip for a minute to lightly color the top, or leave them pale and toast them later.
- Serve warmEat them whole and open-faced (never split them horizontally) slathered with butter so it melts down into all those holes, plus jam, honey, or golden syrup. To save for later, cool and freeze, then toast straight from frozen.