Honey Oatmeal Sandwich Bread (and Why the Oat Soaker Keeps It Soft for Days)
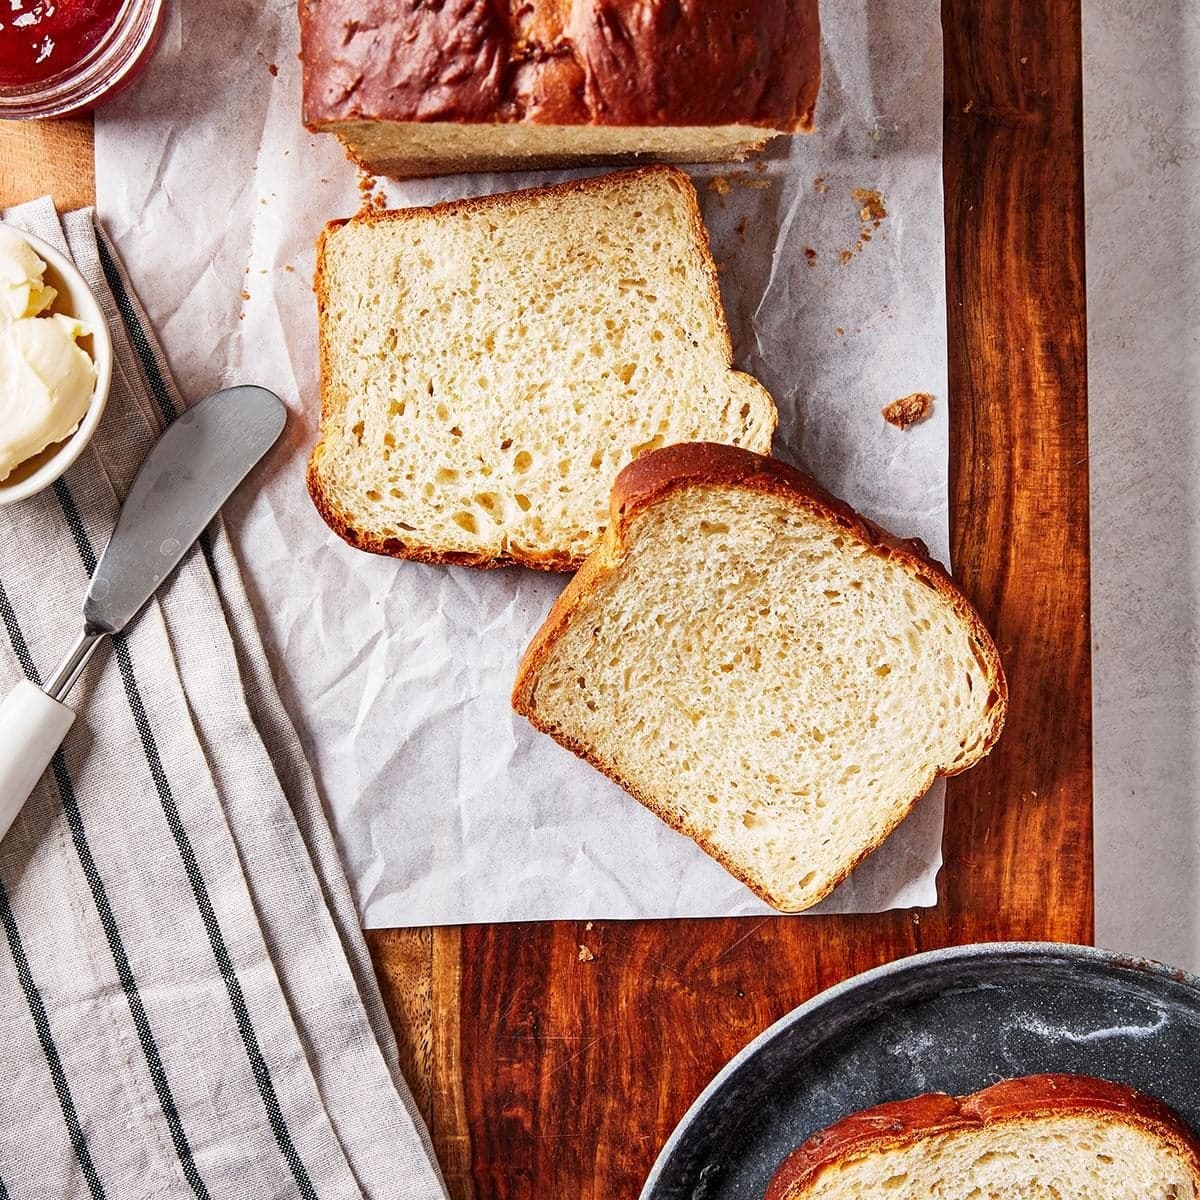
Sign in to see ingredients
Create a free account to unlock this content
Don't have an account? Sign up free
Per serving
Calculating nutrition...
- 1
Make the oat soaker
In a small saucepan, bring 1 cup of the water to a boil. Stir in the rolled oats, the softened butter, the honey and the salt, then pull it off the heat. Here's the whole trick of this loaf: pouring boiling water over the oats gelatinizes their starches, so they grab and hold a huge amount of water. That trapped moisture is what keeps this bread soft for days instead of going stale by tomorrow. Let the mixture cool until it hits 110-115F. Don't rush this part warmer than yeast likes will kill your rise.
- 2
Wake up the yeast
Warm the remaining 1 cup of water to 110-115F (bathwater warm, not hot). In a large bowl, stir the active dry yeast into the warm water and let it sit about 5 minutes until it looks foamy and smells a little beery. That foam is the yeast eating sugars and burping out CO2 it's your proof the yeast is alive before you commit the whole batch of flour to it.
- 3
Mix the dough (no kneading!)
To the foamy yeast, add the cooled oat mixture, the beaten egg, and 2 cups of the flour. Beat until smooth this early mixing actually starts building gluten for you. Then stir in the rest of the flour, about a cup at a time, until you have a soft, sticky dough. It should be tacky and cling to the spoon but still hold together. Do NOT knead it. The long rises will develop the gluten network on their own time, no elbow grease required.
- 4
First rise
Scrape the dough into a lightly greased bowl and turn it once so the top gets a thin coat of grease (that keeps it from drying into a skin). Cover and let it rise somewhere warm until doubled, about 1 hour. While it rests, the yeast is inflating thousands of tiny gas pockets and the gluten strands are slowly aligning that's your crumb structure forming without a single knead.
- 5
Shape and second rise
Punch the dough down to knock out the big air bubbles and redistribute the yeast onto fresh food. Divide it evenly between two greased 8x4-inch loaf pans and smooth the tops. Cover and let rise again until doubled, 35-40 minutes. This second, shorter rise is what gives you a fine, even crumb instead of a few giant caverns.
- 6
Slash and bake
Heat your oven to 375F. With a sharp knife, make one shallow slash down the center of each loaf this tells the bread where to expand so it doesn't tear itself open at a weak spot. Bake 40-45 minutes, until the tops are deep golden and the loaves sound hollow when you tap the bottom. For certainty, an instant-read thermometer in the center should read about 190F; that's when the starches are fully set and the inside is baked through.
- 7
Cool (yes, really) and finish
Turn the loaves out onto a wire rack. If you want a glossy, extra-flavorful crust, brush the tops with a little melted butter now. Then walk away and let them cool the bread is still cooking inside from residual heat, and slicing hot means gummy crumb. Once cool, slice and enjoy.
Sign in to see all instructions
Create a free account to unlock this content
Don't have an account? Sign up free
Honey Oatmeal Sandwich Bread (and Why the Oat Soaker Keeps It Soft for Days)
Created by: TheBreadNerd
Ingredients
- 2 cup water
- 1 cup rolled oats
- 1/3 cup butter
- 1/3 cup honey
- 1 tbsp salt
- 4 1/2 tsp active dry yeast
- 1 egg
- 4 1/2 cup all-purpose flour
Instructions
- Make the oat soakerIn a small saucepan, bring 1 cup of the water to a boil. Stir in the rolled oats, the softened butter, the honey and the salt, then pull it off the heat. Here's the whole trick of this loaf: pouring boiling water over the oats gelatinizes their starches, so they grab and hold a huge amount of water. That trapped moisture is what keeps this bread soft for days instead of going stale by tomorrow. Let the mixture cool until it hits 110-115F. Don't rush this part warmer than yeast likes will kill your rise.
- Wake up the yeastWarm the remaining 1 cup of water to 110-115F (bathwater warm, not hot). In a large bowl, stir the active dry yeast into the warm water and let it sit about 5 minutes until it looks foamy and smells a little beery. That foam is the yeast eating sugars and burping out CO2 it's your proof the yeast is alive before you commit the whole batch of flour to it.
- Mix the dough (no kneading!)To the foamy yeast, add the cooled oat mixture, the beaten egg, and 2 cups of the flour. Beat until smooth this early mixing actually starts building gluten for you. Then stir in the rest of the flour, about a cup at a time, until you have a soft, sticky dough. It should be tacky and cling to the spoon but still hold together. Do NOT knead it. The long rises will develop the gluten network on their own time, no elbow grease required.
- First riseScrape the dough into a lightly greased bowl and turn it once so the top gets a thin coat of grease (that keeps it from drying into a skin). Cover and let it rise somewhere warm until doubled, about 1 hour. While it rests, the yeast is inflating thousands of tiny gas pockets and the gluten strands are slowly aligning that's your crumb structure forming without a single knead.
- Shape and second risePunch the dough down to knock out the big air bubbles and redistribute the yeast onto fresh food. Divide it evenly between two greased 8x4-inch loaf pans and smooth the tops. Cover and let rise again until doubled, 35-40 minutes. This second, shorter rise is what gives you a fine, even crumb instead of a few giant caverns.
- Slash and bakeHeat your oven to 375F. With a sharp knife, make one shallow slash down the center of each loaf this tells the bread where to expand so it doesn't tear itself open at a weak spot. Bake 40-45 minutes, until the tops are deep golden and the loaves sound hollow when you tap the bottom. For certainty, an instant-read thermometer in the center should read about 190F; that's when the starches are fully set and the inside is baked through.
- Cool (yes, really) and finishTurn the loaves out onto a wire rack. If you want a glossy, extra-flavorful crust, brush the tops with a little melted butter now. Then walk away and let them cool the bread is still cooking inside from residual heat, and slicing hot means gummy crumb. Once cool, slice and enjoy.