Sign in to see ingredients
Create a free account to unlock this content
Don't have an account? Sign up free
Per serving
Calculating nutrition...
- 1
Mix the dry base
In a large bowl, whisk together 2 cups of the all-purpose flour, 2 cups of the whole wheat flour, and all of the yeast. Mixing the yeast into the flour first (instead of blooming it in water) is totally fine with active dry these days — it hydrates as soon as the warm liquid hits it. Set the remaining flour aside; you'll add it gradually because whole wheat drinks up water unpredictably.
- 2
Warm the liquids
In a saucepan, combine the milk, water, honey, butter, and salt. Heat to 120-130°F. This window matters: it's warm enough to wake the yeast up fast but below the ~140°F point where heat starts killing it. Use a thermometer the first few times — 'warm to the touch' is a guess, and this is the one place a guess can cost you a rise. The honey isn't just for flavor, either; it's simple sugar the yeast can eat immediately, so fermentation gets a running start.
- 3
Build the dough
Pour the warm liquid into the flour mixture. Blend on low until moistened, then beat on medium for 3 minutes to start building gluten. Gradually stir in the remaining whole wheat flour and just enough of the remaining all-purpose flour to form a soft dough. Here's the whole-wheat secret: the bran flakes act like tiny blades that cut developing gluten strands, so a 100% wheat loaf turns out dense. Keeping some white flour in the mix gives you a strong gluten net that traps gas and stays fluffy.
- 4
Knead
Turn the dough onto a floured surface and knead 6-8 minutes until smooth and elastic. You're organizing tangled protein into stretchy, aligned gluten sheets. The finish line is a feel, not a clock: the dough should be tacky but not sticky, and when you poke it, it should spring back slowly. If it's tearing instead of stretching, keep going.
- 5
First rise
Place the dough in a greased bowl, turning once to coat the top so it doesn't dry out. Cover and let rise in a warm spot until doubled, about 1 hour. This is the yeast exhaling CO2 into that gluten net you built — the honey-fed head start means it fills out nicely. Judge by size, not the clock; a cold kitchen just means give it longer.
- 6
Shape and second rise
Punch the dough down to release the big gas bubbles for an even crumb, then divide and shape into 2 loaves. Place in greased 8x4-inch pans, cover, and let rise again until doubled, about 1 hour. Meanwhile, preheat the oven to 375°F. A fully preheated oven gives you 'oven spring' — one last burst of expansion before the crust sets.
- 7
Bake
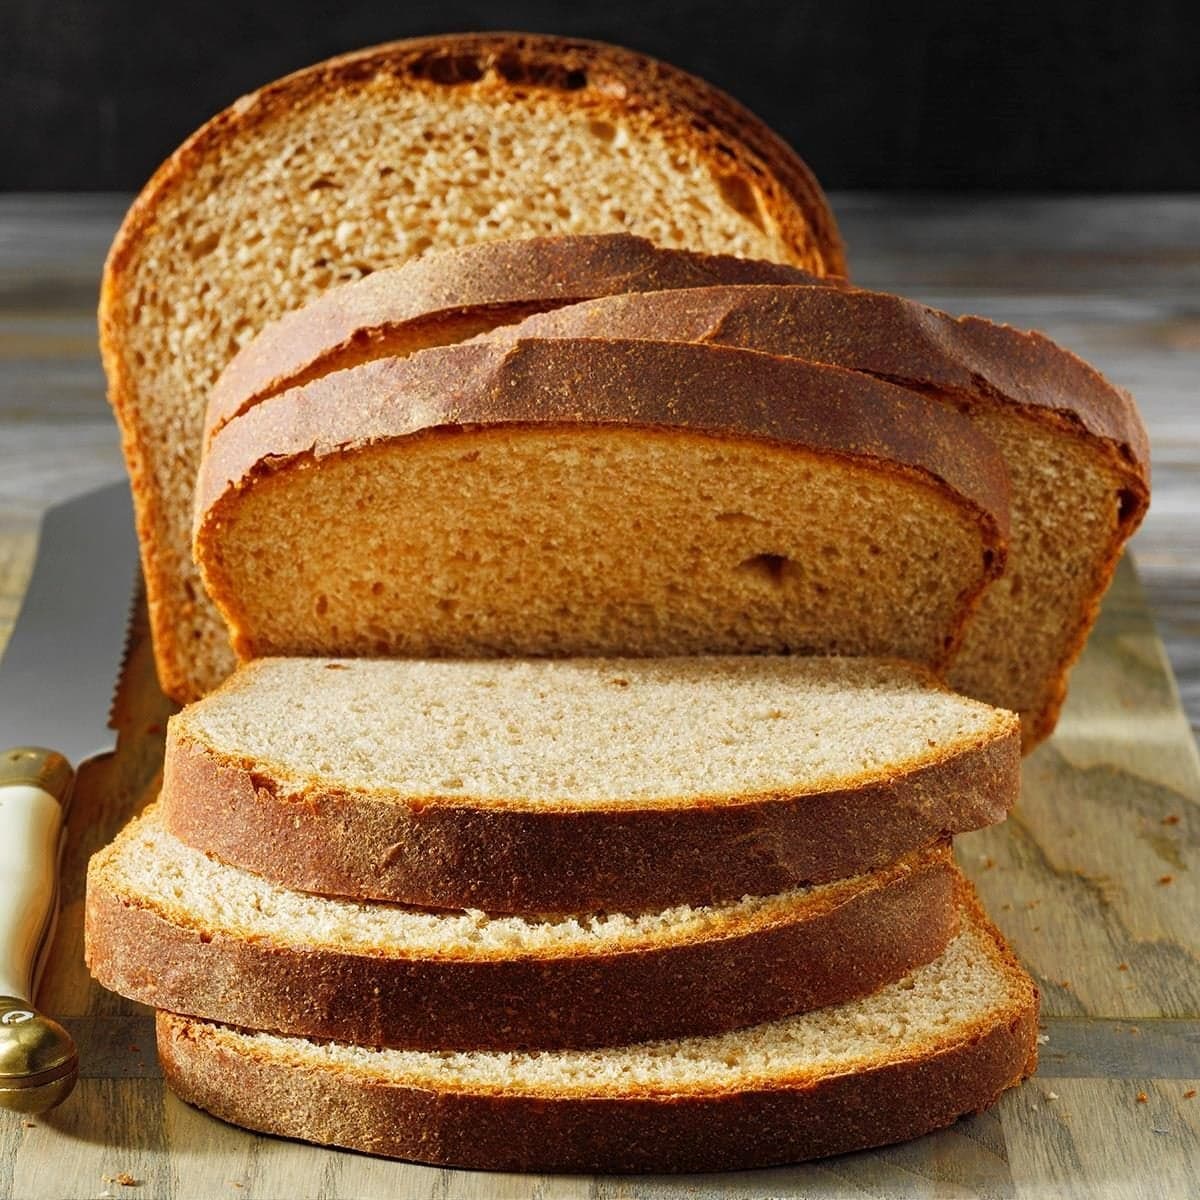
Bake 40-45 minutes until deeply browned. That color is the Maillard reaction plus the honey's sugars caramelizing — flavor you can see. If you want to be sure it's done, an instant-read thermometer in the center should hit about 190°F. Remove the loaves from the pans right away and cool on a wire rack so steam escapes and the bottoms don't turn soggy.
Sign in to see all instructions
Create a free account to unlock this content
Don't have an account? Sign up free
Honey Wheat Bread
Created by: TheBreadNerd
Ingredients
- 3 cup all-purpose flour
- 3 1/2 cup whole wheat flour
- 4 1/2 tsp active dry yeast
- 1 cup milk
- 1 1/4 cup water
- 1/4 cup honey
- 3 tbsp butter
- 1 tbsp salt
Instructions
- Mix the dry baseIn a large bowl, whisk together 2 cups of the all-purpose flour, 2 cups of the whole wheat flour, and all of the yeast. Mixing the yeast into the flour first (instead of blooming it in water) is totally fine with active dry these days — it hydrates as soon as the warm liquid hits it. Set the remaining flour aside; you'll add it gradually because whole wheat drinks up water unpredictably.
- Warm the liquidsIn a saucepan, combine the milk, water, honey, butter, and salt. Heat to 120-130°F. This window matters: it's warm enough to wake the yeast up fast but below the ~140°F point where heat starts killing it. Use a thermometer the first few times — 'warm to the touch' is a guess, and this is the one place a guess can cost you a rise. The honey isn't just for flavor, either; it's simple sugar the yeast can eat immediately, so fermentation gets a running start.
- Build the doughPour the warm liquid into the flour mixture. Blend on low until moistened, then beat on medium for 3 minutes to start building gluten. Gradually stir in the remaining whole wheat flour and just enough of the remaining all-purpose flour to form a soft dough. Here's the whole-wheat secret: the bran flakes act like tiny blades that cut developing gluten strands, so a 100% wheat loaf turns out dense. Keeping some white flour in the mix gives you a strong gluten net that traps gas and stays fluffy.
- KneadTurn the dough onto a floured surface and knead 6-8 minutes until smooth and elastic. You're organizing tangled protein into stretchy, aligned gluten sheets. The finish line is a feel, not a clock: the dough should be tacky but not sticky, and when you poke it, it should spring back slowly. If it's tearing instead of stretching, keep going.
- First risePlace the dough in a greased bowl, turning once to coat the top so it doesn't dry out. Cover and let rise in a warm spot until doubled, about 1 hour. This is the yeast exhaling CO2 into that gluten net you built — the honey-fed head start means it fills out nicely. Judge by size, not the clock; a cold kitchen just means give it longer.
- Shape and second risePunch the dough down to release the big gas bubbles for an even crumb, then divide and shape into 2 loaves. Place in greased 8x4-inch pans, cover, and let rise again until doubled, about 1 hour. Meanwhile, preheat the oven to 375°F. A fully preheated oven gives you 'oven spring' — one last burst of expansion before the crust sets.
- BakeBake 40-45 minutes until deeply browned. That color is the Maillard reaction plus the honey's sugars caramelizing — flavor you can see. If you want to be sure it's done, an instant-read thermometer in the center should hit about 190°F. Remove the loaves from the pans right away and cool on a wire rack so steam escapes and the bottoms don't turn soggy.