Milk & Honey Sandwich Bread (and Why Milk Makes the Softest Crumb)
Sign in to see ingredients
Create a free account to unlock this content
Don't have an account? Sign up free
Per serving
Calculating nutrition...
- 1
Wake up the yeast
Warm the milk to 110-115 degrees F - warm to the touch like bathwater, not hot. This is the sweet spot: cold milk and the yeast stays sleepy, over about 130 and you cook the little guys. Dissolve the yeast in the warm milk and give it 5-10 minutes. When it goes foamy and smells bready, your yeast is alive and hungry. If nothing happens, the yeast is dead - start over rather than baking a brick.
- 2
Build the dough
Melt the butter and add it along with the honey, salt and 5 cups of the flour. Beat until smooth. Here's the fun part: the milk is doing double duty. Its fat coats the flour proteins so they can't link into tough gluten sheets, and its milk sugars help the crust brown - that's why milk breads bake up soft and tender instead of chewy and lean. Add the rest of the flour a half cup at a time until you get a soft dough that just barely pulls away from the bowl. Add flour slowly; you can always add more, but you can't take it back out.
- 3
Knead to develop gluten
Turn the dough onto a floured board and knead 6-8 minutes. Kneading is just you lining up those flour proteins into stretchy gluten strands - the web that traps gas and gives bread its structure. You're done when the dough turns smooth and springs back when poked. The real test: stretch a piece thin enough to see light through it without tearing (the windowpane). If it rips, keep going.
- 4
First rise
Place the dough in a greased bowl, turning once so the top gets a light oil coat (this keeps it from drying into a skin). Cover and let it rise somewhere warm until doubled, about 1 hour. During this rise the yeast is feasting on the honey and flour sugars and burping out CO2, which the gluten web traps - that's what inflates the dough. Poke it: if the dent stays put, it's ready.
- 5
Shape the loaves
Punch the dough down to release the big gas bubbles for a finer, even crumb, then divide in half and shape into two loaves. Drop them into two greased 9x5-inch loaf pans. Shaping tension matters here - a tight, taut surface helps the loaf rise up instead of spreading out.
- 6
Second rise
Cover the pans and let the loaves rise again until doubled, about 30 minutes. They should crown just above the rim of the pan. Don't let them balloon way over - overproofed dough has stretched its gluten too far and can collapse in the oven. When a gentle poke springs back slowly, they're ready to bake.
- 7
Bake
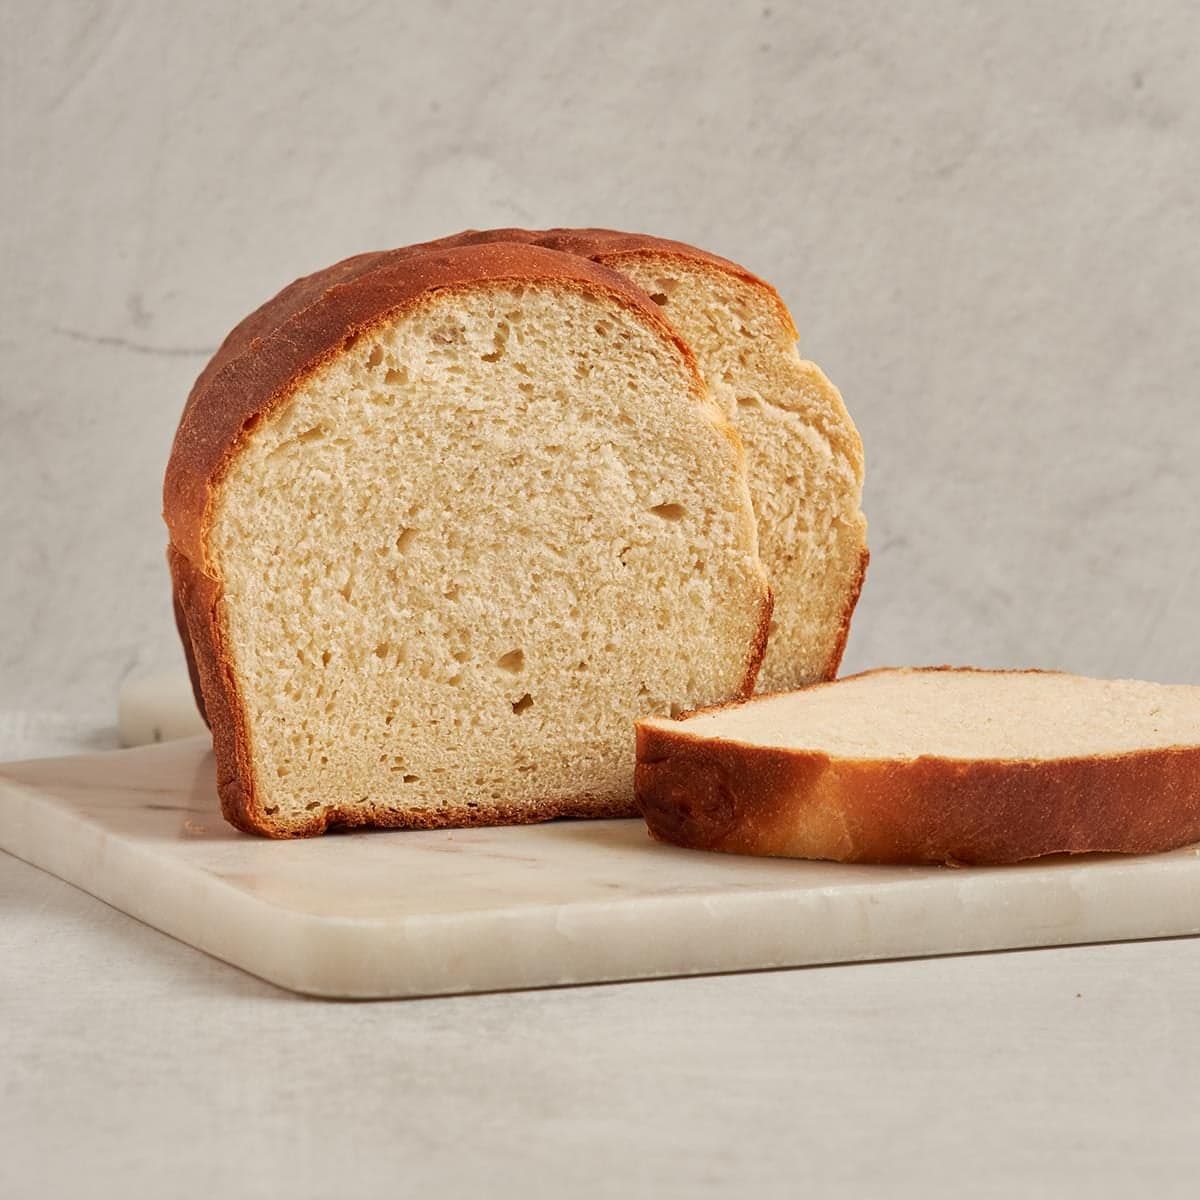
Bake at 375 degrees F until deep golden brown, 30-35 minutes. If the tops are racing ahead, tent them loosely with foil. The bread is done when it sounds hollow if you tap the bottom - that hollow knock means the interior has set and the moisture has cooked off. Turn the loaves out of the pans and cool on a wire rack before slicing. I know it's hard, but slicing hot bread squishes the still-setting crumb - let it finish carrying off steam first.
Sign in to see all instructions
Create a free account to unlock this content
Don't have an account? Sign up free
Milk & Honey Sandwich Bread (and Why Milk Makes the Softest Crumb)
Created by: TheBreadNerd
Ingredients
- 1/2 oz active dry yeast
- 2 1/2 cup whole milk
- 1/3 cup honey
- 1/4 cup butter
- 2 tsp salt
- 8 cup all-purpose flour
Instructions
- Wake up the yeastWarm the milk to 110-115 degrees F - warm to the touch like bathwater, not hot. This is the sweet spot: cold milk and the yeast stays sleepy, over about 130 and you cook the little guys. Dissolve the yeast in the warm milk and give it 5-10 minutes. When it goes foamy and smells bready, your yeast is alive and hungry. If nothing happens, the yeast is dead - start over rather than baking a brick.
- Build the doughMelt the butter and add it along with the honey, salt and 5 cups of the flour. Beat until smooth. Here's the fun part: the milk is doing double duty. Its fat coats the flour proteins so they can't link into tough gluten sheets, and its milk sugars help the crust brown - that's why milk breads bake up soft and tender instead of chewy and lean. Add the rest of the flour a half cup at a time until you get a soft dough that just barely pulls away from the bowl. Add flour slowly; you can always add more, but you can't take it back out.
- Knead to develop glutenTurn the dough onto a floured board and knead 6-8 minutes. Kneading is just you lining up those flour proteins into stretchy gluten strands - the web that traps gas and gives bread its structure. You're done when the dough turns smooth and springs back when poked. The real test: stretch a piece thin enough to see light through it without tearing (the windowpane). If it rips, keep going.
- First risePlace the dough in a greased bowl, turning once so the top gets a light oil coat (this keeps it from drying into a skin). Cover and let it rise somewhere warm until doubled, about 1 hour. During this rise the yeast is feasting on the honey and flour sugars and burping out CO2, which the gluten web traps - that's what inflates the dough. Poke it: if the dent stays put, it's ready.
- Shape the loavesPunch the dough down to release the big gas bubbles for a finer, even crumb, then divide in half and shape into two loaves. Drop them into two greased 9x5-inch loaf pans. Shaping tension matters here - a tight, taut surface helps the loaf rise up instead of spreading out.
- Second riseCover the pans and let the loaves rise again until doubled, about 30 minutes. They should crown just above the rim of the pan. Don't let them balloon way over - overproofed dough has stretched its gluten too far and can collapse in the oven. When a gentle poke springs back slowly, they're ready to bake.
- BakeBake at 375 degrees F until deep golden brown, 30-35 minutes. If the tops are racing ahead, tent them loosely with foil. The bread is done when it sounds hollow if you tap the bottom - that hollow knock means the interior has set and the moisture has cooked off. Turn the loaves out of the pans and cool on a wire rack before slicing. I know it's hard, but slicing hot bread squishes the still-setting crumb - let it finish carrying off steam first.