Sign in to see ingredients
Create a free account to unlock this content
Don't have an account? Sign up free
Per serving
Calculating nutrition...
- 1
Wake up the yeast
Warm the pineapple juice and water together to 70-80°F (just barely warm to the touch) and stir in the yeast and the tablespoon of sugar. Let it sit 5-10 minutes until it looks foamy on top. Here's why: yeast is dormant when dry, and warm liquid plus a little sugar gives it an easy first meal. The foam is the yeast literally burping out CO2, which is your proof it's alive before you commit the whole batch. If nothing foams, your yeast is dead and it's better to know now.
- 2
Drain and mix the dough
Drain the crushed pineapple well, pressing out the extra liquid so you don't waterlog the dough. Melt the butter and let it cool slightly, then add it to a large bowl with the egg, drained pineapple, dry milk powder, salt, and bread flour. Pour in the foamy yeast mixture and stir until a shaggy dough forms. Why bread flour here: it has more protein (around 12-13%) than all-purpose, and more protein means more gluten, which is the stretchy web that traps gas and gives these rolls their tall, tender-but-chewy structure. The dry milk powder adds proteins and milk sugars that soften the crumb and help the tops brown.
- 3
Knead to the windowpane
Knead on a lightly floured surface (or with a stand mixer's dough hook) for 8-10 minutes. You're looking for a dough that's smooth and tacky but not sticky — it should tug back at your fingers. Toward the end of kneading, work in the shredded coconut. Test it with the windowpane: pinch off a piece and stretch it thin. If it stretches enough to see light through without tearing, the gluten is developed and ready. Kneading is just you organizing tangled gluten strands into an elastic, aligned network — that's what lets the dough hold its shape as it inflates.
- 4
First rise
Shape the dough into a ball, place it in a greased bowl, cover, and let it rise in a warm spot for about 1 to 1.5 hours until doubled. Enriched doughs like this one — loaded with butter, egg, and sugar — rise slower than lean doughs, because fat coats the gluten and sugar competes with the yeast for water. Don't rush it by cranking the heat; just give it time and judge by size, not the clock. Doubled means the yeast has produced enough gas to inflate the gluten web.
- 5
Shape the rolls
Punch the dough down to release the big gas bubbles, then divide it into 15 even portions. Roll each into a tight ball by cupping your hand over it and dragging it in small circles against the counter — that friction builds surface tension on the skin of the dough, which is what makes rolls dome up evenly instead of slumping. Arrange them in a greased 13x9-inch pan with a little space between each; they'll grow into each other.
- 6
Second rise
Cover the pan and let the rolls rise again for about 45 minutes, until they're puffy and just touching their neighbors. Poke one gently — if the dent springs back slowly and stays slightly indented, they're ready to bake. If it springs back fast, give them a few more minutes; the gluten is still too tight.
- 7
Bake and finish
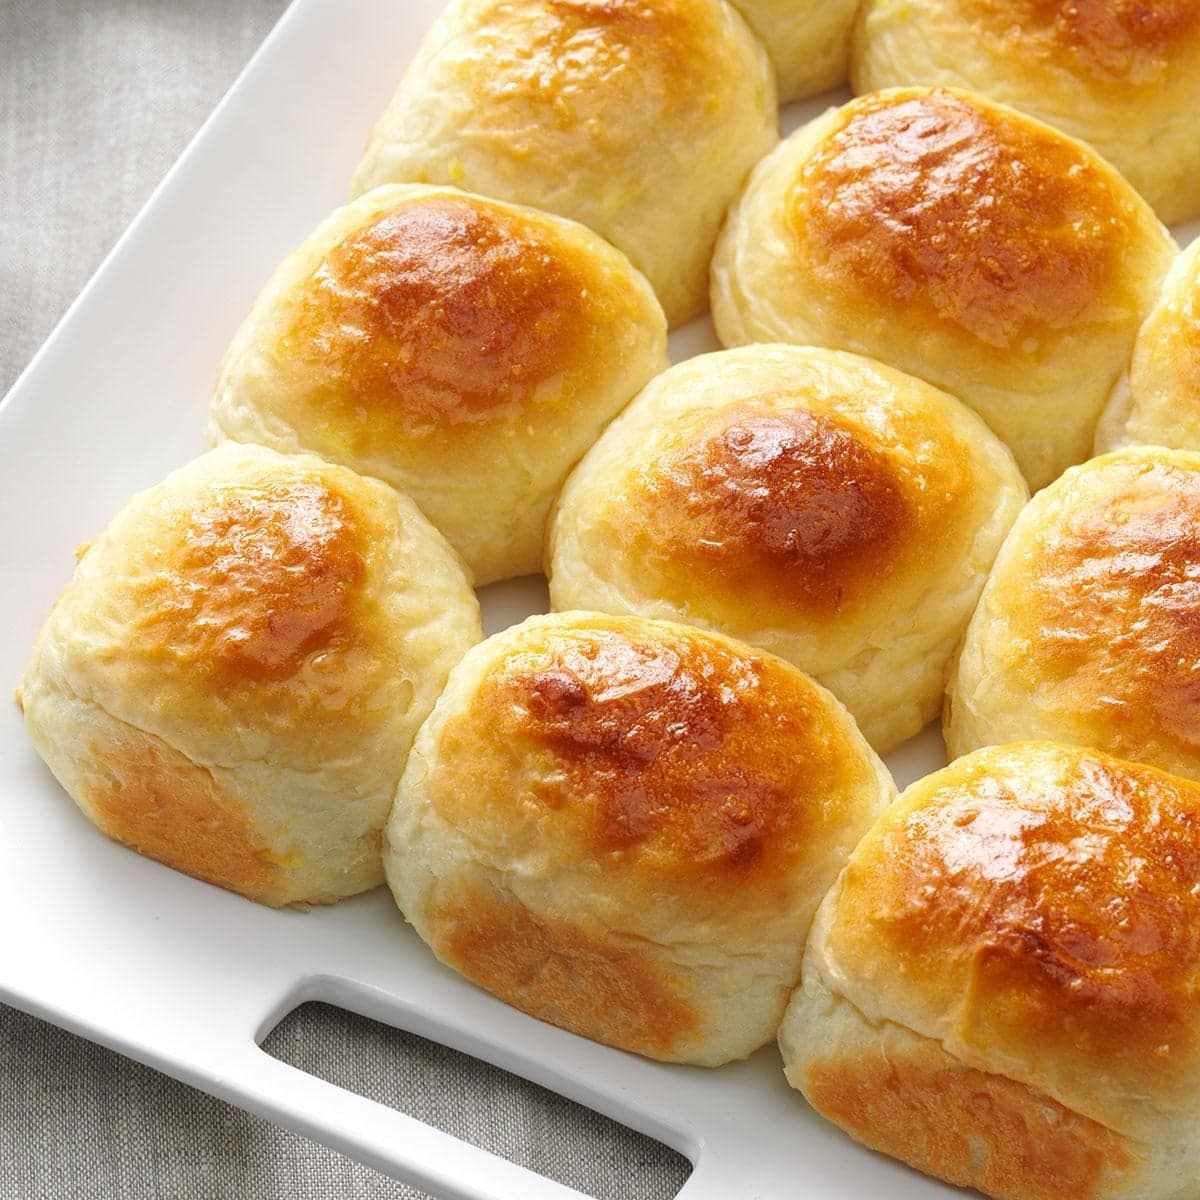
Bake at 375°F for 15-20 minutes until the tops are deep golden brown. That color is the Maillard reaction and caramelizing sugars from the pineapple, milk, and dough working together — it's flavor you can see. For picture-perfect rolls, brush the hot tops with a little melted butter as they come out; it makes them glossy and keeps the crust soft. An internal temp of about 190°F confirms the crumb is set.
Sign in to see all instructions
Create a free account to unlock this content
Don't have an account? Sign up free
Pineapple Coconut Hawaiian Sweet Rolls
Created by: TheBreadNerd
Ingredients
- 8 oz crushed pineapple
- 1/4 cup pineapple juice
- 1/4 cup water
- 1 egg
- 1/4 cup butter
- 1/4 cup nonfat dry milk powder
- 1 tbsp sugar
- 1 1/2 tsp salt
- 3 1/4 cup bread flour
- 2 1/4 tsp active dry yeast
- 3/4 cup shredded coconut
Instructions
- Wake up the yeastWarm the pineapple juice and water together to 70-80°F (just barely warm to the touch) and stir in the yeast and the tablespoon of sugar. Let it sit 5-10 minutes until it looks foamy on top. Here's why: yeast is dormant when dry, and warm liquid plus a little sugar gives it an easy first meal. The foam is the yeast literally burping out CO2, which is your proof it's alive before you commit the whole batch. If nothing foams, your yeast is dead and it's better to know now.
- Drain and mix the doughDrain the crushed pineapple well, pressing out the extra liquid so you don't waterlog the dough. Melt the butter and let it cool slightly, then add it to a large bowl with the egg, drained pineapple, dry milk powder, salt, and bread flour. Pour in the foamy yeast mixture and stir until a shaggy dough forms. Why bread flour here: it has more protein (around 12-13%) than all-purpose, and more protein means more gluten, which is the stretchy web that traps gas and gives these rolls their tall, tender-but-chewy structure. The dry milk powder adds proteins and milk sugars that soften the crumb and help the tops brown.
- Knead to the windowpaneKnead on a lightly floured surface (or with a stand mixer's dough hook) for 8-10 minutes. You're looking for a dough that's smooth and tacky but not sticky — it should tug back at your fingers. Toward the end of kneading, work in the shredded coconut. Test it with the windowpane: pinch off a piece and stretch it thin. If it stretches enough to see light through without tearing, the gluten is developed and ready. Kneading is just you organizing tangled gluten strands into an elastic, aligned network — that's what lets the dough hold its shape as it inflates.
- First riseShape the dough into a ball, place it in a greased bowl, cover, and let it rise in a warm spot for about 1 to 1.5 hours until doubled. Enriched doughs like this one — loaded with butter, egg, and sugar — rise slower than lean doughs, because fat coats the gluten and sugar competes with the yeast for water. Don't rush it by cranking the heat; just give it time and judge by size, not the clock. Doubled means the yeast has produced enough gas to inflate the gluten web.
- Shape the rollsPunch the dough down to release the big gas bubbles, then divide it into 15 even portions. Roll each into a tight ball by cupping your hand over it and dragging it in small circles against the counter — that friction builds surface tension on the skin of the dough, which is what makes rolls dome up evenly instead of slumping. Arrange them in a greased 13x9-inch pan with a little space between each; they'll grow into each other.
- Second riseCover the pan and let the rolls rise again for about 45 minutes, until they're puffy and just touching their neighbors. Poke one gently — if the dent springs back slowly and stays slightly indented, they're ready to bake. If it springs back fast, give them a few more minutes; the gluten is still too tight.
- Bake and finishBake at 375°F for 15-20 minutes until the tops are deep golden brown. That color is the Maillard reaction and caramelizing sugars from the pineapple, milk, and dough working together — it's flavor you can see. For picture-perfect rolls, brush the hot tops with a little melted butter as they come out; it makes them glossy and keeps the crust soft. An internal temp of about 190°F confirms the crumb is set.