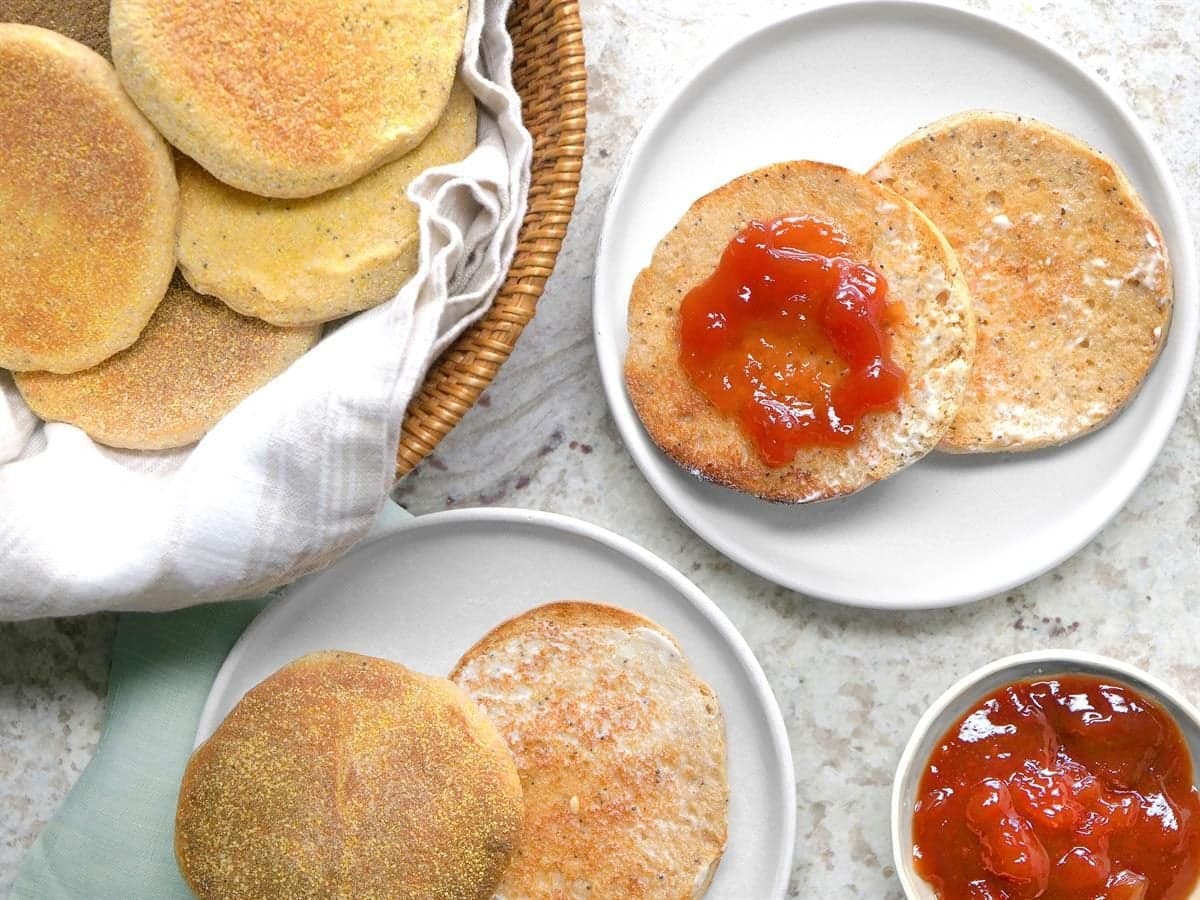
Skillet English Muffins with the Nooks-and-Crannies Crumb
Sign in to see ingredients
Create a free account to unlock this content
Don't have an account? Sign up free
Per serving
Calculating nutrition...
- 1
Scald the milk (yes, this step matters)
Heat the milk in a saucepan over medium heat until small bubbles form around the edge of the pan, about 180-185°F. Add the butter, sugar, and salt, and stir until the butter melts. Then let it cool to lukewarm. Here's the why: raw milk contains a whey protein that can interfere with gluten development and leave your bread gummy. Scalding deactivates it, so your crumb turns out tender instead of dense. Don't skip it, and don't let the milk go past lukewarm or you'll kill the yeast in the next step.
- 2
Wake up the yeast and build the dough
In a small bowl, dissolve the active dry yeast in the warm water (110-115°F - warm to the touch but not hot) and let it sit a few minutes until foamy. Stir the yeast mixture into the cooled milk mixture, then add the all-purpose flour and 1 cup of the whole wheat flour. Stir until smooth. Add the sesame seeds, poppy seeds, and enough of the remaining whole wheat flour to form a soft dough that's no longer sticking to the bowl in a wet mess.
- 3
Knead until the dough passes the windowpane-ish test
Turn the dough onto a floured surface and knead for 8-10 minutes until smooth and elastic. You're developing gluten here - that stretchy protein network is what traps the gas bubbles that become your nooks and crannies. The dough should feel tacky but not stick to your hands, and when you poke it, it should spring back slowly. Place it in a greased bowl, turn to coat, cover, and let rise until doubled, about 1 hour.
- 4
Punch down and cut your rounds
Punch down the dough to release the gas (don't worry, the yeast is still very much alive and working). Roll it out to about 1/3-inch thickness on a surface dusted with cornmeal - the cornmeal isn't just for show, it keeps the dough from sticking and gives the finished muffins that classic gritty bottom crust. Cut into rounds with a 3 1/2 to 4-inch cutter, leaving 1-2 inches between them on the tray so they don't fuse together. Cover with a towel and let rise until nearly doubled, about 30 minutes.
- 5
Cook low and slow on the stovetop
Place the muffins cornmeal-side down in a greased skillet over medium-low heat. Cook until the bottoms are deeply browned, 12-14 minutes, then flip and cook the other side until browned and the centers are fully set, another 12-14 minutes. Medium-low is the key word here - this is essentially baking without an oven, so you need enough time at a gentle temperature for the inside to cook through before the outside scorches. You'll know they're done when they sound hollow if you tap the bottom. Cool on a wire rack.
- 6
Fork-split, don't slice
Once cooled, split each muffin around the middle using a fork instead of a knife - poke it all the way around the edge and gently pull apart. This is the move that actually creates the nooks and crannies people are after: the fork tears along the natural air pockets instead of cutting straight through them, so you get all those little crevices for butter and jam to soak into. Toast and serve.
Sign in to see all instructions
Create a free account to unlock this content
Don't have an account? Sign up free
Skillet English Muffins with the Nooks-and-Crannies Crumb
Created by: TheBreadNerd
Ingredients
- 1 cup whole milk
- 1/4 cup butter
- 2 tbsp sugar
- 1 tsp salt
- 1 1/2 tbsp active dry yeast
- 1 cup warm water
- 2 cup all-purpose flour
- 3 1/2 cup whole wheat flour
- 1 tbsp sesame seeds
- 1 tbsp poppy seeds
- cornmeal
Instructions
- Scald the milk (yes, this step matters)Heat the milk in a saucepan over medium heat until small bubbles form around the edge of the pan, about 180-185°F. Add the butter, sugar, and salt, and stir until the butter melts. Then let it cool to lukewarm. Here's the why: raw milk contains a whey protein that can interfere with gluten development and leave your bread gummy. Scalding deactivates it, so your crumb turns out tender instead of dense. Don't skip it, and don't let the milk go past lukewarm or you'll kill the yeast in the next step.
- Wake up the yeast and build the doughIn a small bowl, dissolve the active dry yeast in the warm water (110-115°F - warm to the touch but not hot) and let it sit a few minutes until foamy. Stir the yeast mixture into the cooled milk mixture, then add the all-purpose flour and 1 cup of the whole wheat flour. Stir until smooth. Add the sesame seeds, poppy seeds, and enough of the remaining whole wheat flour to form a soft dough that's no longer sticking to the bowl in a wet mess.
- Knead until the dough passes the windowpane-ish testTurn the dough onto a floured surface and knead for 8-10 minutes until smooth and elastic. You're developing gluten here - that stretchy protein network is what traps the gas bubbles that become your nooks and crannies. The dough should feel tacky but not stick to your hands, and when you poke it, it should spring back slowly. Place it in a greased bowl, turn to coat, cover, and let rise until doubled, about 1 hour.
- Punch down and cut your roundsPunch down the dough to release the gas (don't worry, the yeast is still very much alive and working). Roll it out to about 1/3-inch thickness on a surface dusted with cornmeal - the cornmeal isn't just for show, it keeps the dough from sticking and gives the finished muffins that classic gritty bottom crust. Cut into rounds with a 3 1/2 to 4-inch cutter, leaving 1-2 inches between them on the tray so they don't fuse together. Cover with a towel and let rise until nearly doubled, about 30 minutes.
- Cook low and slow on the stovetopPlace the muffins cornmeal-side down in a greased skillet over medium-low heat. Cook until the bottoms are deeply browned, 12-14 minutes, then flip and cook the other side until browned and the centers are fully set, another 12-14 minutes. Medium-low is the key word here - this is essentially baking without an oven, so you need enough time at a gentle temperature for the inside to cook through before the outside scorches. You'll know they're done when they sound hollow if you tap the bottom. Cool on a wire rack.
- Fork-split, don't sliceOnce cooled, split each muffin around the middle using a fork instead of a knife - poke it all the way around the edge and gently pull apart. This is the move that actually creates the nooks and crannies people are after: the fork tears along the natural air pockets instead of cutting straight through them, so you get all those little crevices for butter and jam to soak into. Toast and serve.